LEGO 21226 Art Project was somehow missed by my radar. I mean, I don’t claim to know every set released, but I’ve complained for so long about how I missed such a fun set. Then I checked its release date – November 2021. The year I decided to take a break from my LEGO hobby. I didn’t even check my social media account, let alone follow the news. The set was retired in December 2022. I was more active in 2022, even wrote a few articles, but they were mostly about new or upcoming sets. I didn’t bother to look at what was released the previous year, and completely missed it. After that, I stopped my complaining; it came and went during my “dark age”.
After learning of its existence, I looked for ways to get it. Since it was retired, the prices were meaninglessly high. Then it hit me: Why don’t I get the parts instead of the whole set? There are around 4,000 pieces, most of them 1×1 round tiles. I only want certain colors that will fill a 48×48 stud area. I built the set digitally, using Bricklink Studio, made a list of the parts I needed and uploaded them to Bricklink. I searched for the overall price, and realized the parts cost more than the set itself. Thanking the sellers, I threw that option out the window.
After a short while, I saw an ad about the set. My lovely algorithm was telling me the set I keep searching for was on sale. As I was thinking whether I should buy it or not, I saw one of the two being sold. Yep, I wasn’t going to let that deal go. I placed the order.
This is the story of finding out and purchasing the LEGO 21226 Art Project set. Next will be the opening and building story :)
LEGO 21226 Art Project
Like most of the sets I buy, it was marinated for a while, waiting for a good time to be built. On a rainy Sunday, I woke up earlier than usual (around 6 a.m.), so I decided to build the LEGO 21226 Art Project as my Sunday activity. I opened the box – which has a very nice wooden texture print on it – took a few pictures, in case I decided to write about it later, and checked the contents.
The box is as big as the finished set. It was probably designed like this to store or carry the set, because the contents can easily fit into a smaller box. The DOTS pieces are categorized by color. There are 10 booklets, 9 showing the instructions to the patterns you can build, one showing how to build the frame along with some info on the set.

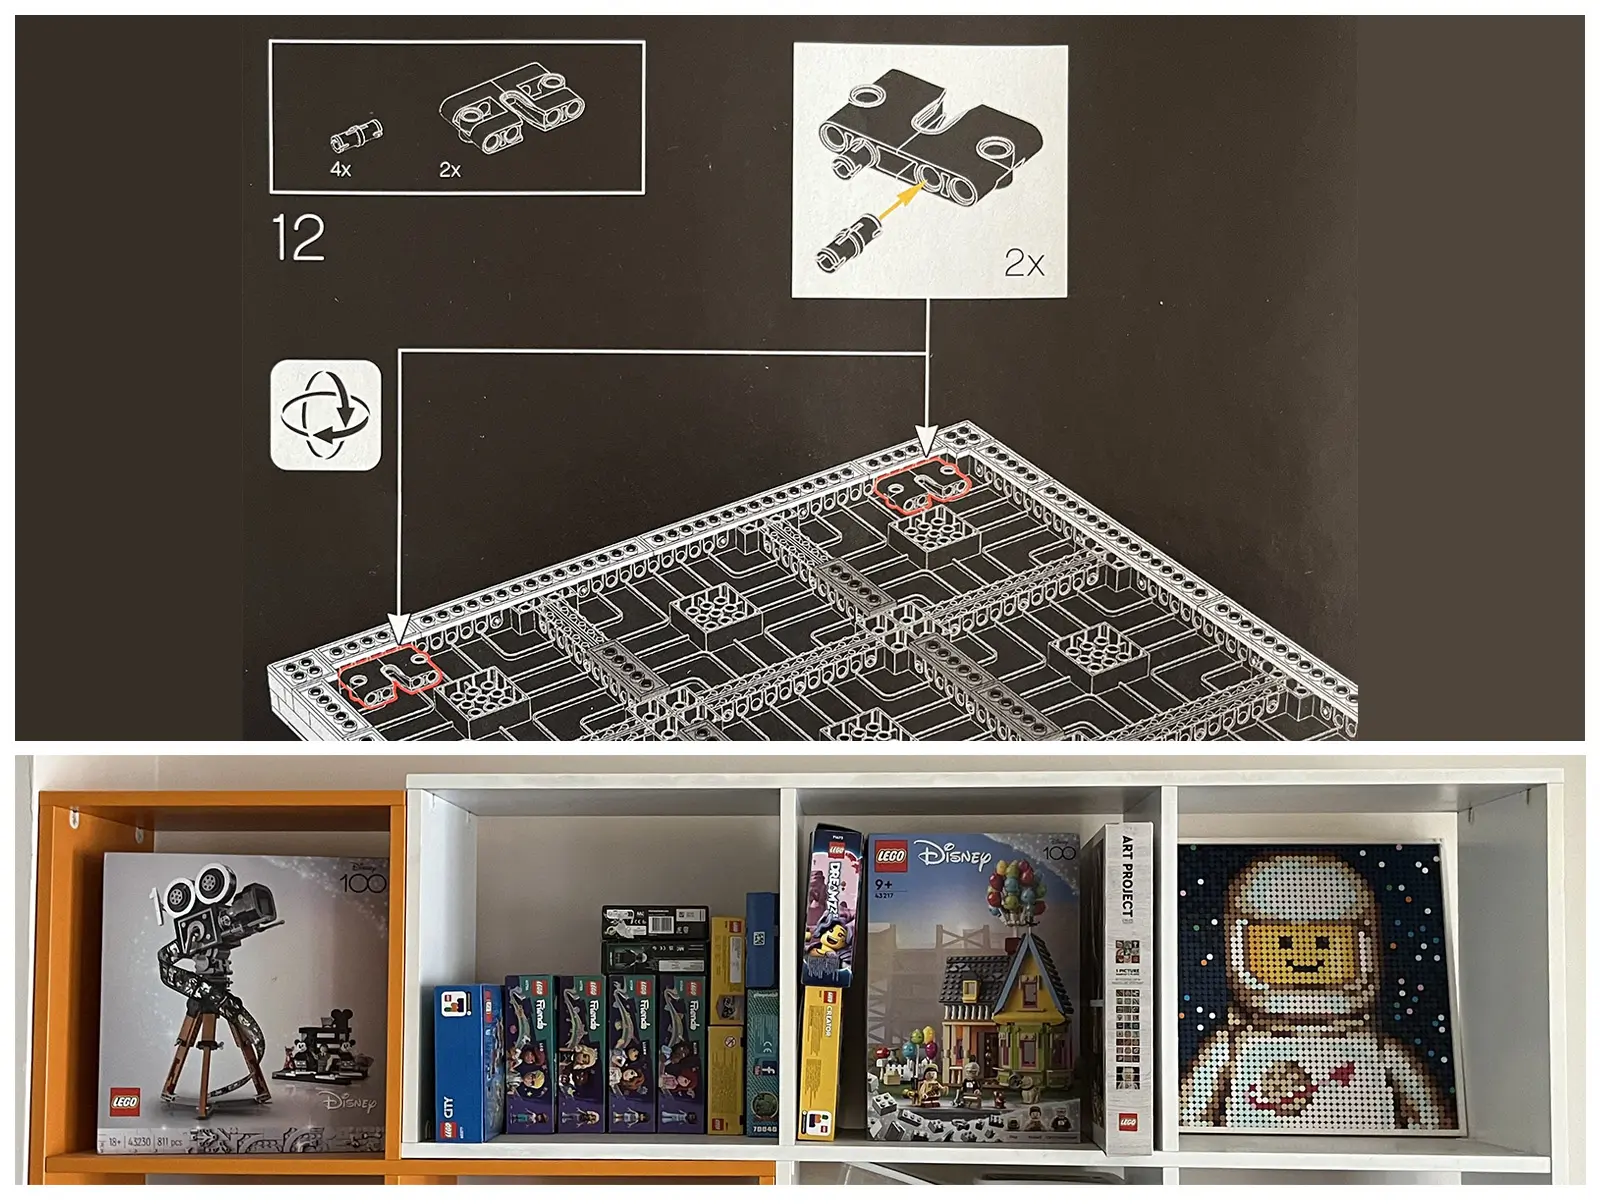
I haven’t had a chance to drink my coffee yet, so I started by building the frame. If I bothered to read the first booklet, I probably wouldn’t have done that. Since I built it the same way digitally, I didn’t listen to the tiny voice in my head.
After I finished the frame, that tiny voice became louder. This made no sense. Why were there 9 booklets if we connected everything? Why did I see stuff like “Build with family”, “Build with friends”, “If there are young children, do this” here and there? I looked at the first booklet to find the answers to my questions. It said “Now it’s time to assemble your artwork”. Yep, I was supposed to build the frame after everything was finished.
Did I deconstruct the frame? Of course not. It was my therapy set, and I was going to build it by myself anyway. Worst case scenario, it would be a bit harder. I started pouring the DOTS into bowls…
DOTS… DOTS… DOTS everywhere!!
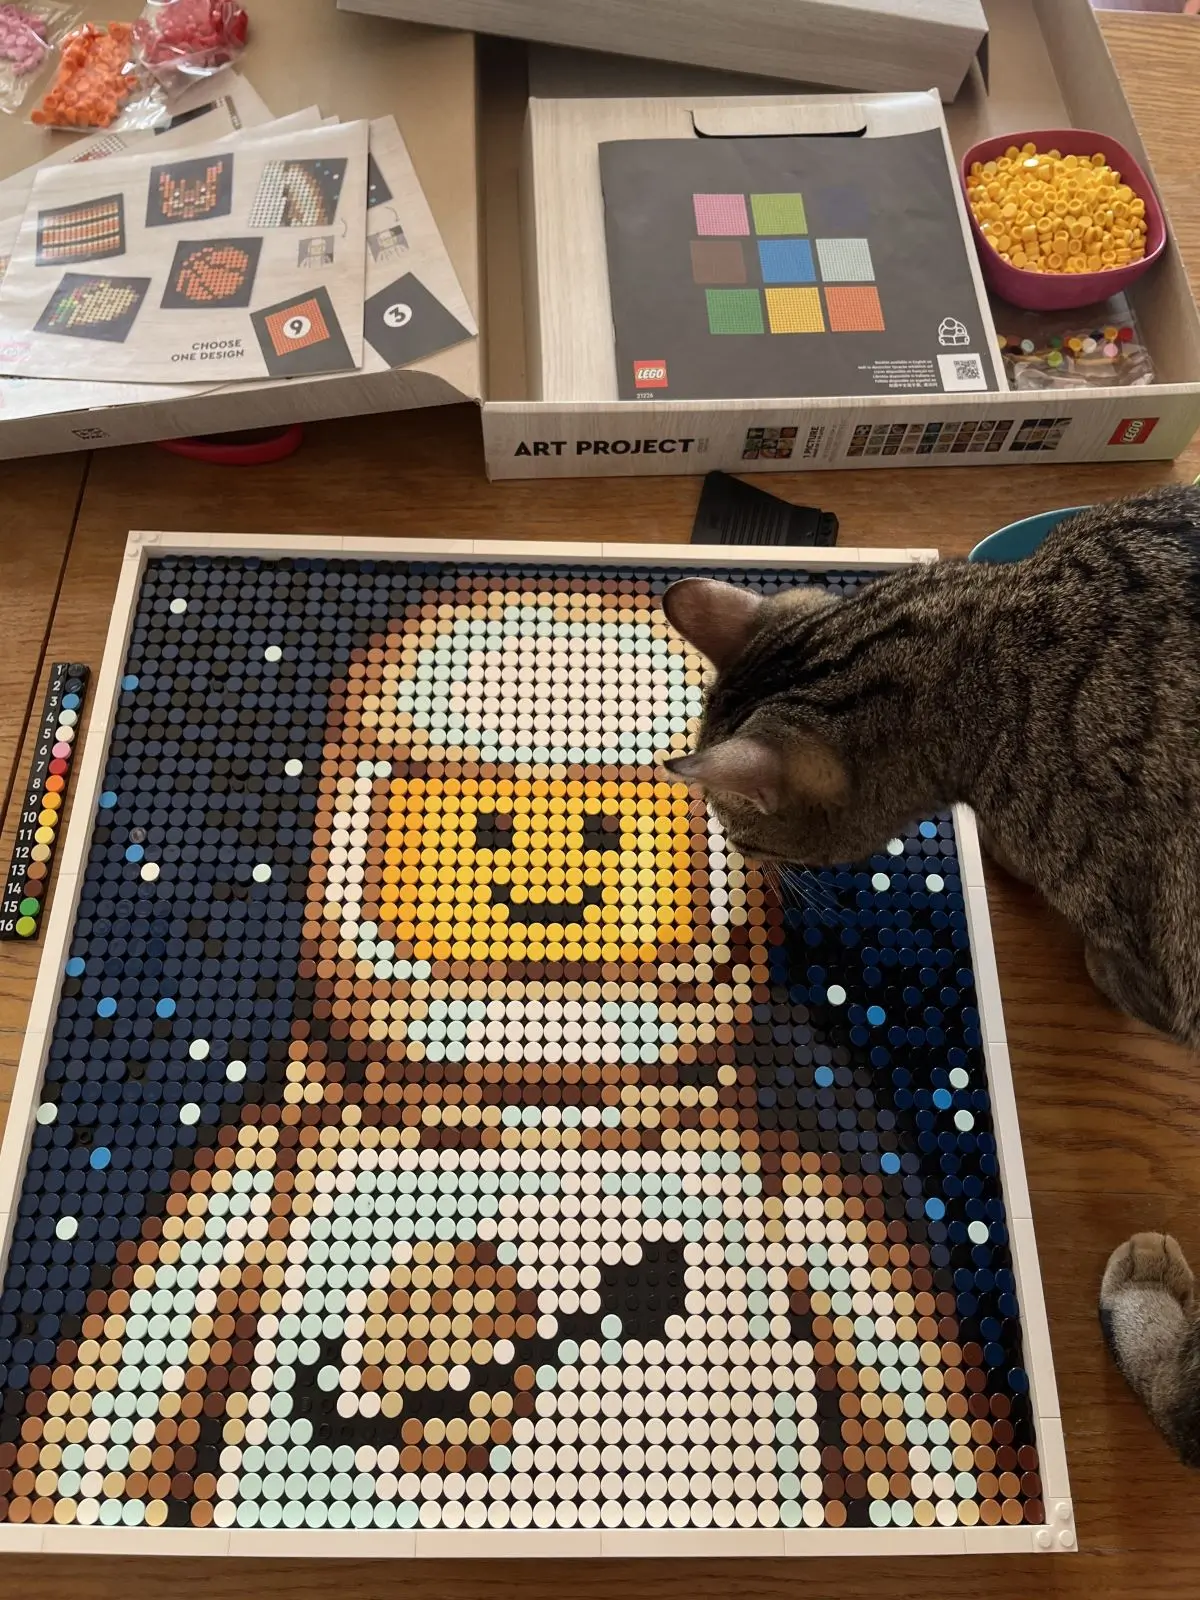
I looked at the bowls on the table, and then the colored bags. There weren’t enough bowls for every color. I knew what I was going to build. “First of all, I already started from the end. Second of all, I’m a crazy woman. I know very well I won’t place the tiles in order, one blue, two blacks, three reds and so on. So why should I open them all at once?” I decided to start with the most dominant colors, black and dark blue.
Building this digitally is significantly easier. I mean, you have 16 different colors, you copy-paste them and you’re done. Instead of going one-by-one with every other color, you copy a specific color and paste it here, here and here (x500). You can also change the color of the baseplate, so you see where it starts and where it ends. The physical model was a bit harder, I counted wrong and misplaced some of the DOTS. After two hours, I’ve placed all the black and dark blue tiles on the plates and the boundaries of the spaceman were done.
I decided to continue with browns. Since I was going from the end to the beginning and inwards, that was the logical choice (it’s been quite long since logic has left the building, but there was nobody to tell me that, so I moved on).
After the whites and the light aquas were placed, the spaceman started to look like… well, a spaceman :)
When I was finished with the yellows, the spaceman was smiling at me. Also, my youngest has just woken up and come to see what I was doing.
I built the arrow around the planet with the reds and pinks, put in a few oranges and greens where needed. The model was finally finished, ready to be displayed!
What about the unused dots?
LEGO 21226 Art Project has 4138 pieces, 200 of which are used to build the frame (including spares). 2304 DOTS are used to create a 48×48 picture, which leaves you with approximately 1600 round tiles. You can use them in another project, or add them to your spare parts. After spending 6 hours on this, I really wasn’t interested in what else I can build using the remaining tiles. I put them all in one bag, the way they’re supposed to be (!) stored. The only exception were the bright green pieces. It’s the only color you don’t use building the spaceman, so there was no need to open the bag.
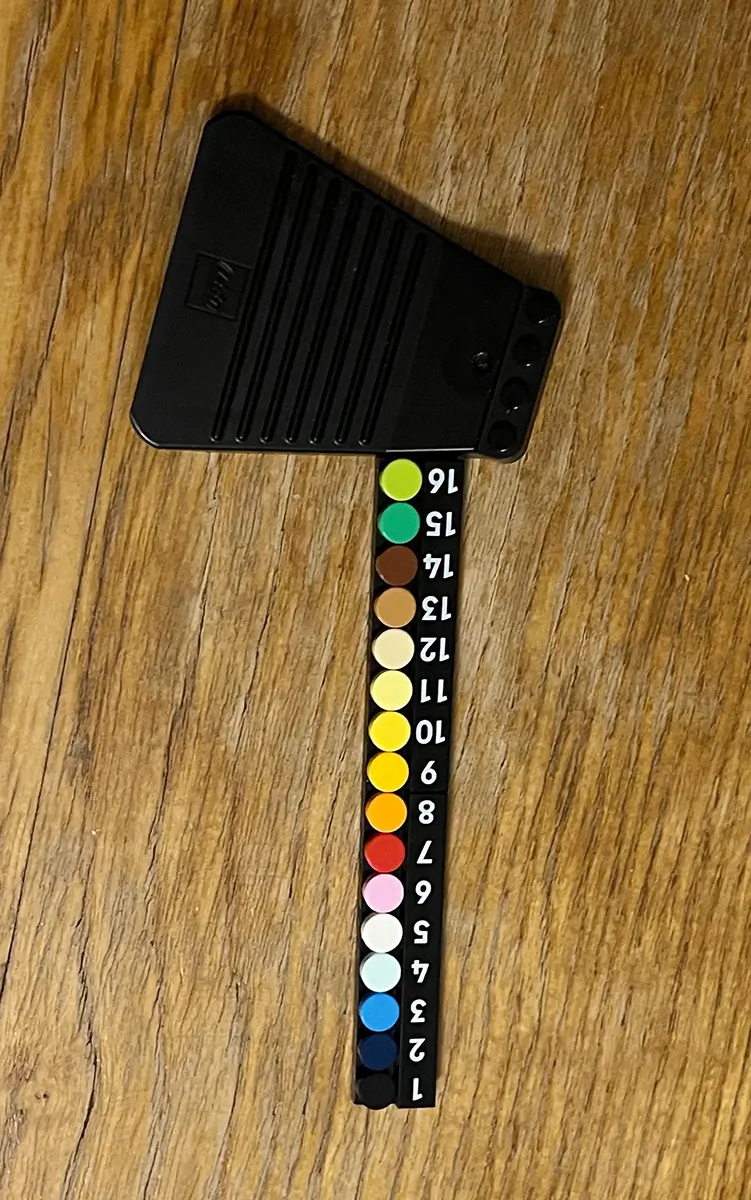
Before starting your build, you create a color key. I really liked this feature. The instructions are prepared using the color codes of the key. Instead of going “One black, two dark blues, two blacks” in my mind, I was saying “1-2-2-1-1” during the whole build. Since there was a sample of the key in the instruction booklet, I used the key as a ruler, to remember which row I was at.
There’s also a brick separator coming with the set. It’s wider than your regular brick separator, allowing you to remove four 1×1 plates at once. The thin side is good for removing the tiles. To be honest, I never used it while building. There were other parts around my wrongly placed ones, so I had to use my nails. But it’s ideal if you want to deconstruct the whole set. I checked Brickset and saw all the art sets that use DOTS have this separator.
After showing these pieces to my dad, he said “Look, I built something, too!” You can see his build below :)

Thoughts?
If I were to describe LEGO 21226 Art Project set with one word, I’d go with fantastic. Whether you build it yourself, like I did, or with others who are into this sort of thing, the end result is beautiful. Most importantly, unlike most LEGO sets, there’s no specific order for the build. I mean, I started from the end and got the same result. Same goes for the building plates, too. I didn’t start with the first and moved to the second. I made my own order and built accordingly. Since it’s a two-dimensional image rather than a three-dimensional model, the usual limitations don’t apply here. This gives you a nice feeling of freedom when building.
There are two fixture parts on the back, if you want to hang it on a wall. Our walls are full already, so I decided to display it another way.

There are some Classic Space fans who built different versions of this mosaic. The family portrait is by Jeff Van Winden (vw_bricks), the separate portraits of different colored spacemen are by Dana Knudson (troublesbricking), the first person I think of when someone says “classic space”. Apparently, there’s nothing you can’t do with enough DOTS.
I also found this one on The Brothers Brick. Whoever built it had their fun :)
And last, but definitely not least, is a stop-motion animation made by one of the teenagers in our LEGO chat group, featuring the white spaceman.
See you in the next one!
All images are mine except the alternative spacemen.
Some girls play with Barbie dolls, while others create small worlds with LEGO minifigures and continue to do so when they grow up. You can probably guess which group I belong to :)


